
While venturing down the bullseye-shooting rabbit hole, I kept encountering references to the “blank-paper drill” and the related “white-wall drill.” The names are sometimes used interchangeably, but they can describe two different exercises. A white-wall drill is commonly performed in dry fire at close range. The version discussed here is a live-fire exercise derived from the U.S. Marine Corps Pistol Team Modified Program Workbook, fired at 25 yards.
The target presents nothing but a plain white surface—no bullseye, scoring rings, or precise aiming point. That removes the temptation to look past the sights, steer the pistol toward the center, or react to individual bullet holes. The shooter’s task is reduced to its essentials: maintain sight alignment, accept the natural movement of the pistol, and operate the trigger without disturbing either one.
A tight, round group indicates that the shooter maintained a consistent visual and trigger process even without a conventional target providing constant feedback. As a sort of bottom line up front, here’s a quick reference table before getting to the main explanation.
| Phase | Target | Time | Passing Standard |
|---|---|---|---|
| Basic Blank Paper | Blank target at 25 yards | Unlimited | Two consecutive 10-shot groups measuring 5.5 inches or less |
| 9-Ring Practice | Plain 5.54-inch black circle or B-8 at 25 yards | Unlimited | First 10 shots in the black on two consecutive targets |
| Intermediate Variation | Blank target at 25 yards | Unlimited | Two consecutive 10-shot groups measuring 3.36 inches or less |
| 10-Ring Test | B-8 at 25 yards | Unlimited | First 10 shots in the 10-ring on two consecutive targets |
| Timed Strings | Plain black 5.54-inch circle or B-8 target at 25 yards. | 20 seconds per 5-shot string | First 10 shots in the black on two consecutive targets |
| One-Shot Drill | Plain black circle or B-8 at 25 yards | 3 seconds per shot | First 10 shots in the black on two consecutive targets |
The Basic Blank Paper Drill
This is the first shooting exercise in the workbook’s 19-stage progression. The program is self-paced, and the shooter does not advance until they meet the standard.
- Place a blank target at 25 yards. The blank back of a full-size target works better than printer paper because it provides more room for shots to scatter and still be visible
- Assume the standing strong hand only position
- With no time limit, fire one 10-shot group. Do not inspect individual shots or change your sights during the string
- Measure the group’s maximum center-to-center extreme spread and repair or replace the target
- Repeat until you fire two consecutive 10-shot groups measuring no more than 5.5 inches
The workbook also expects the groups to remain round. A vertically or horizontally stretched group may indicate that the shooter is searching for an aiming point or allowing attention to drift downrange. The 5.5-inch standard comes from the size of a 9-ring on a B-8 target, which is 5.54 inches in diameter. Being able to consistently print 5.5-inch or better groups on a blank target means you have the mechanical accuracy and sight alignment down, you just need to place it in the center of an actual target.
Progressing the Program
The next step after producing the two 5.5-inch groups is to repeat the drill with a B-8 target (or the repair center).
- Assume the standing strong hand only position and fire 10 shots with unlimited time.
- Check the target, if 10 shots have not accumulated in the 5.5″ black, then return to the firing position
- Fire 5 more shots from the standing strong hand only position
- Check the target
- Repeat strings of 5 shots and checking the target until 10 hits have accumulated in the 5.5″ black
- Replace the target and start over
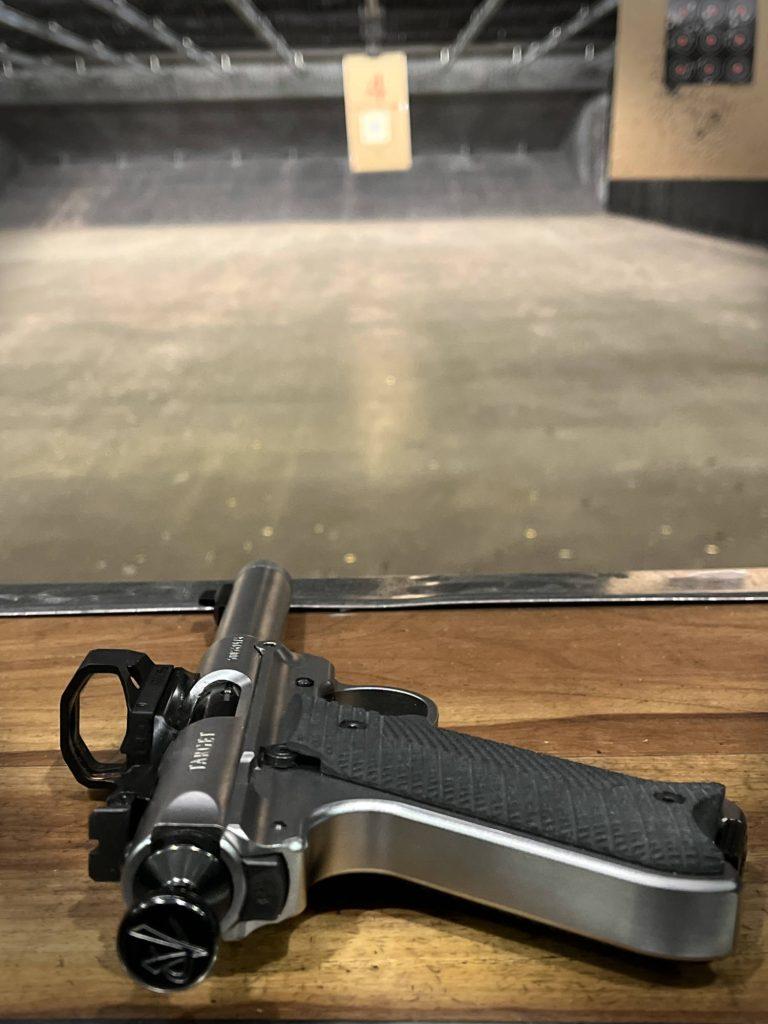
This phase is complete when you’re able to fire two consecutive 10-round strings into the 5.5-inch black zone of the target.
Shrinking the Goal
Once you’ve completed the 5.5-inch phases, it’s time to progress. The workbook would have you shoot at “small target”, but I’m introducing a slight variation: repeat the sequence of starting with the blank paper and then working with up to another B-8. The difference is now that we need to produce 3.3″ groups at 25 yards. This is the size of the 10-ring (technically, it’s 3.36″ but 3.3″ is close enough).
For blank paper:
- Post blank target at 25 yards
- Assume the standing strong hand only position
- Fire 10 shots with unlimited time, then measure the group
- Repeat until you can produce two consecutive 10-shot groups that measure 3.3″ or less
Once you’ve done that, move on to the target version:
- Post a B-8 target at 25 yards
- Assume the standing strong hand only position
- Fire 10 shots with unlimited time, measure the group
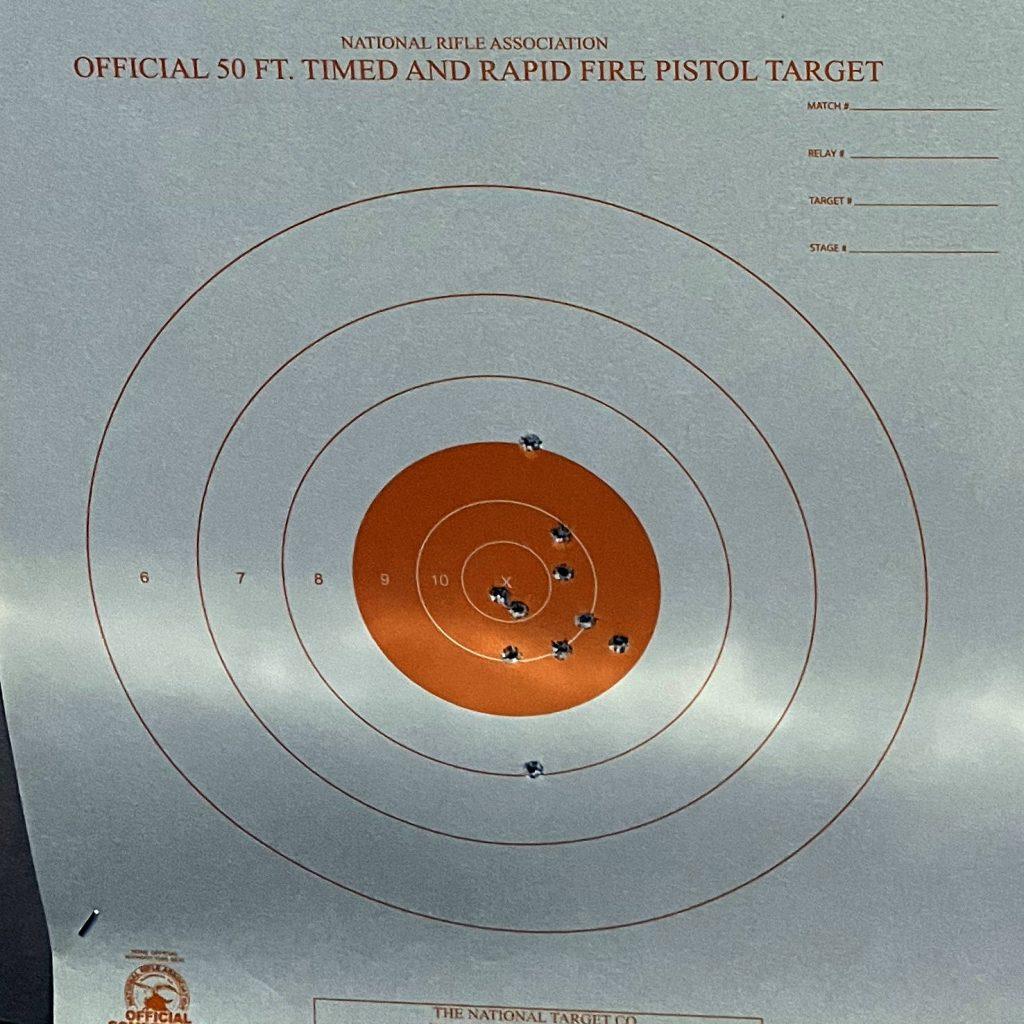
- Fire additional 5-round strings until 10 shots accumulate in the 3.3″ 10-ring
- Replace the target
- Repeat until you are able to get your first 10 shots in the 10-ring two consecutive times
There’s a mental aspect to this where you’re accumulating hits in that 10-ring. This mentally proves to you that you can do it, and then you work to refine technique so that you do it more consistently and on demand.
Adding Timed Fire
Up to this point, everything has been without a time limit. The goal was maximizing focus on basic pistol marksmanship. While the USMC guide doesn’t introduce timed fire until the shooter has mastered the two consecutive 10-shot groups into 3.3″ at 25 yards, I suspect most average shooters will simply never get there- else they’d be highly competitive bullseye shooters.
I’d say that once you’re fairly comfortable producing 5.5″ groups at 25 yards under no time limit, it’s ok to introduce the timer. There are two variations: 5-shot strings and single shots.
For 5-shot strings:
- Post a B-8 target at 25 yards
- Set a timer for 20 seconds
- Load pistol with 5 rounds
- Assume the standing strong hand only position
- On beep, fire 5 rounds at the target within 20 seconds
- Repeat for a total of 10 shots
- Check target. if 10 rounds are not in the black then repeat 5 round strings until 10 shots are in the black
- Replace the target and start over
For single shots:
- Post B-8 target at 25 yards
- Set a timer for 3 seconds
- Load pistol with 10 rounds
- Assume the standing strong hand only position and raise your pistol
- On beep, fire one round at the target within 3 seconds
- Repeat for 10 rounds
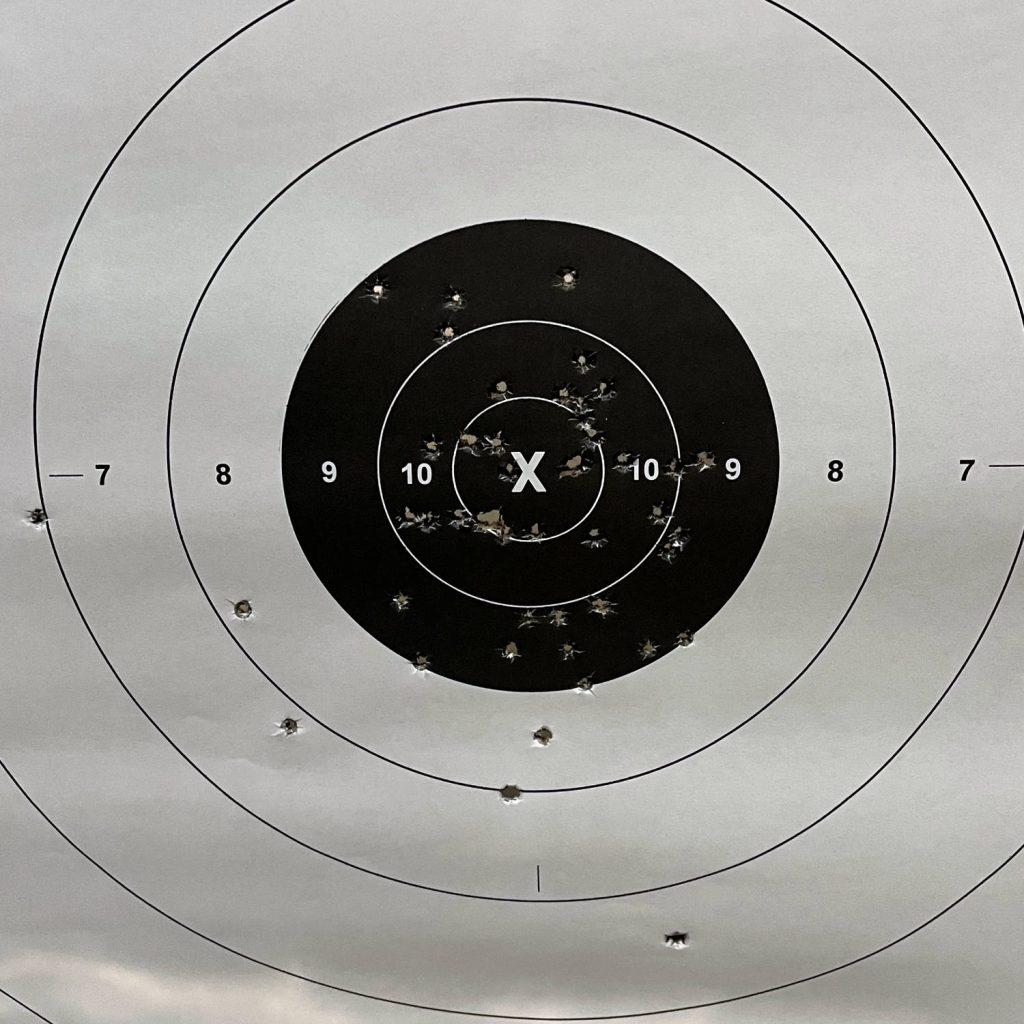
- Check the target. Repeat drill until 10 rounds are in the black zone.
- Replace target and start over
In both cases, the end goal is having the first 10 shots in the black two consecutive times. Of note, the single shot drill actually calls for targets that rotate and appear for 3 seconds before rotating away. If you have a range that can do this, then go for it. I modified this under the assumption that you would not have access to a range with rotating target backers.
What This Trains
These are not high-speed drills. They develop the visual discipline and trigger control that make speed possible later. The blank target also exposes a habit that conventional targets can conceal: trying to correct every visible movement instead of allowing the pistol to move and completing a clean trigger press.
The objective is not turning slow-fire bullseye shooting into a substitute for practical pistol training. It is raising the floor of your performance. When alignment, trigger control, and recovery require less conscious correction, you have more attention available for presentation, target transitions, movement, and decision-making.
Making the Drill Easier
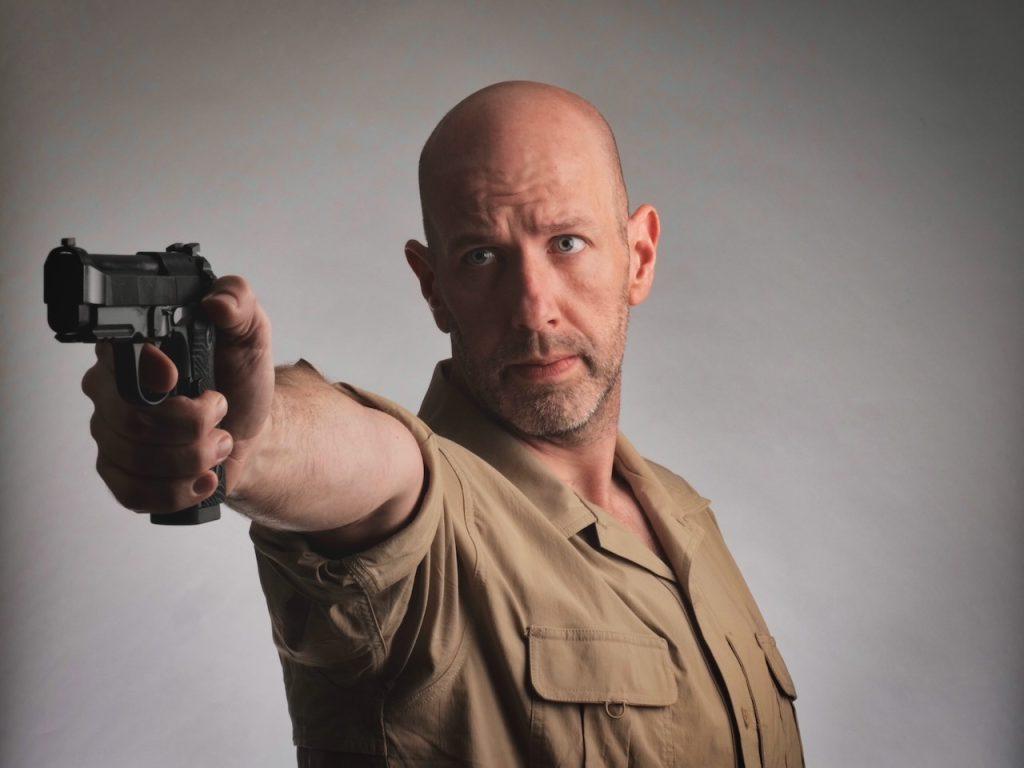
Standing at 25 yards and shooting with the strong hand only is effectively the drill’s “hard mode.” It makes sense within a program designed for competitive bullseye shooters, but it can be unnecessarily difficult for someone still developing basic pistol skills. If most of your shots miss the paper, the drill provides little useful feedback.
There are two straightforward ways to scale the difficulty: use both hands or move the target closer.
A practical progression might look like this:
- Begin at 7 yards using a normal two-handed grip.
- Move to 10, 15, and eventually 25 yards as your groups become consistently smaller and rounder.
- At 25 yards, repeat the drill using both hands until all 10 shots reliably remain on the paper.
- Return to a closer distance and begin working with the strong hand only.
- Gradually move the target back until you can keep all 10 strong-hand shots on the paper at 25 yards.
- Once you can account for every shot, begin pursuing the original group-size standards.
Change only one variable at a time. If you switch to strong-hand-only shooting, move the target closer but keep the rest of the drill unchanged. If you move the target farther away, retain the grip and cadence you have already demonstrated you can control.
The objective of scaling is not to make the standard meaningless. It is to preserve the drill’s intended lesson at a difficulty level that lets you observe progress. You should still fire the complete string without checking individual hits, maintain attention on the sights or dot, accept the normal movement of the pistol, and evaluate the group only after all 10 shots are complete.
Distance and grip are simply adjustable constraints. The long-term goal remains the same: work toward keeping every strong-hand-only shot on the paper at 25 yards, then begin tightening the group toward the workbook’s original standard.
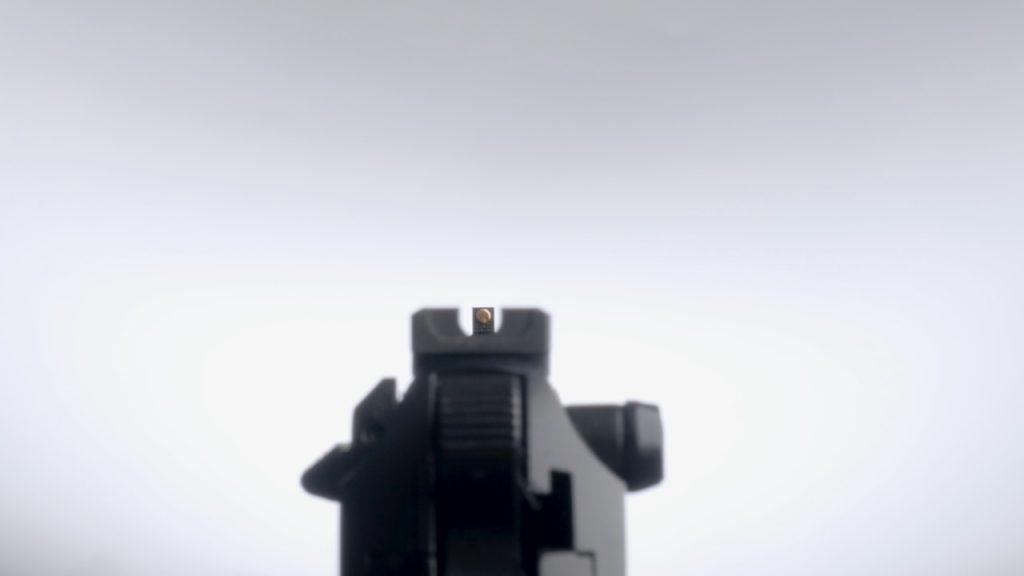
The Dry-Fire Equivalent: The Blank-Wall Drill
You can practice the same visual discipline at home without firing a shot. This version is commonly called the blank-wall drill.
Begin by unloading the pistol in a separate area and removing all live ammunition from the practice space. Verify the chamber and magazine well are empty, then choose a blank section of wall that provides a safe direction and suitable backstop. Follow your normal dry-practice safety procedures throughout the session.
Stand close enough that the wall presents no useful aiming point—usually a few feet away. The exact distance is unimportant. What matters is that you cannot select a mark, seam, or other feature and turn it into a target.
With iron sights:
- Present or raise the pistol toward the blank wall
- Establish perfect sight alignment
- Accept the natural movement of the aligned sights
- Press the trigger without disturbing their relationship
- Hold the trigger to the rear momentarily and confirm that the sights remained aligned through the click
- Reset and repeat
The absence of a target makes any disturbance caused by the trigger press easier to see. If the front sight dips, jumps sideways, or disappears from the rear notch as the trigger breaks, you have immediate feedback without being distracted by where a bullet landed.
The drill also works with a red-dot sight, although the lesson changes slightly. There is no front-to-rear sight alignment to maintain. Instead, watch the dot’s movement while applying pressure to the trigger. Do not try to freeze the dot. Allow it to move naturally and look for any sudden displacement at the instant the trigger breaks.
As with the live-fire version, this can be scaled to your ability. Begin with a two-handed grip and progress to strong-hand-only work once you can press the trigger consistently without disturbing the sights. Keep the sessions short and deliberate—perhaps 10 to 20 careful repetitions rather than dozens of increasingly careless ones.
The blank-wall drill cannot test group size, recoil recovery, or whether your sights are correctly zeroed. What it does provide is an inexpensive way to rehearse the process that the live-fire drill is designed to measure. Use the wall to build the trigger press, then use blank paper at the range to verify that the skill survives recoil and live ammunition.
Bonus Activity: Line Tracing
One tip I picked up from JaredAF is to slowly and perfectly trace lines and edges with your sights. Keeping sight alignment as perfect as possible, pick an edge, such as the edge of a target on the wall, or the corner seams of a room, and slowly follow it with the front sight (or dot).


