In any position, the arrangement of your relaxed body combines to point the rifle muzzle naturally at some spot…Having your NPA and target coincide means the rifle will want to point there, allowing you to relax as much as possible, resulting in the steadiest hold. Using NPA lets your position do all the hard work for you. Effortless aiming.
– Peter Lessler “Gun Digest Shooter’s Guide to Rifle Marksmanship”
Practicing rifle positions will take you far. You’ll be able to get in and out of them quickly, build up a stable shooting platform, and even be an effective marksman.
But getting good with your natural point of aim will make you even better.
As Pete said, the natural point of aim, or NPOA, is the spot your rifle is actually aiming at based upon your position. More importantly, it’s the spot you are aiming when your body is relaxed.
If all the years of pursuing marksmanship have taught me anything, it’s that finding your NPOA must be practiced consistently. It’s unfortunately very easy to cheat this, especially if you are shooting at relatively close ranges.
So how do you know if you have a problem with your natural point of aim?
The easiest way to tell is to take a second and analyze what happens before and after you squeeze the trigger of your rifle.
- Do you feel like you’re pulling or pushing the rifle to align your sights to the target?
- After the shot, are the sights settling back to the same spot or moving somewhere else?
- When looking through your sights, do you see more “wobble”
than is appropriate for the position you’re in?
Each of these might indicate a problem with your NPOA. So let’s dig a little further.
What, Exactly, is the Natural Point of Aim

The way to think about NPOA is that you, your weapon, and your sights are all a single unit that moves together to align with the target. You do not move the weapon in isolation.
Todd over at Art of the Rifle, a now defunct blog, once gave a great example for envisioning this. Think of those little green army men you used to play with. They’re fixed and rigid. If you wanted to change where one was aiming, you moved the whole thing. You should treat your shooting position in the same way. It’s all about stability.
Army TC 3-22.9 Rifle & Carbine Marksmanship discusses the importance of stability at length. In fact, chapter 6 is all about stability. The training circular has this to say:
The natural point of aim is the point where the barrel naturally orients when the shooter’s muscles are relaxed and support is achieved
I bolded the portion about relaxed muscles. That’s an important point. The TC continues:
Muscle relaxation is the ability of the Soldier to maintain orientation of the weapon appropriately during the shot process while keeping the major muscle groups from straining to maintain the weapon system’s position. Relaxed muscles contribute to stability provided by support.
• Strained or fatigued muscles detract from stability.
• As a rule, the more support from the shooter’s bones the less he requires from his muscles.
• The more skeletal support, the more stable the position, as bones do not fatigue or strain.
• As a rule, the less muscle support required, the longer the shooter can stay in position.
Now we’re getting somewhere.
Bone Support, Not Muscles
It’s a rookie mistake to hold the sights on target with muscle power. If you’ve done this, your body will
That’s your natural point of aim.
If you used muscle to put the sights on target, then you’re going to have to do it again for the next shot, which will have the same effect. The problem here is that your muscles are inconsistent at holding a specific position.
I’m not going to delve into muscle physiology, but the tiny strings of fibers that make up your muscles are in constant motion when you use them, even if you think you’re holding still. This isometric contraction of muscles is competing against a lot of factors, not the least of which is gravity and changes caused by your own breathing.
This motion is the wobble zone.
The more muscle you involve in supporting the rife, the worse the wobble zone gets. You can work on keeping the wobble zone smaller by improving your muscular strength and neurological adaptations through practice, but it will always be there. The best way to mitigate it is to remove muscles from the equation as much as possible.
You achieve a good shooting position by constructing a scaffolding with your bones. With the prone position, for example, the elbows rest on the ground and support the rifle similar to a tripod, with the third point of contact being your shoulder. The only muscular tension in this position comes from not letting the supporting elbow open up.
You address that last problem with a shooting sling.
It’s going to take practice to learn how to relax your muscles and not let your position fall apart.
Benefits
TC 3-22.9 points out the following:
- The closer the natural point of aim is to the target, the less muscle support required.
- The more stable the position, the more resistant to recoil it is.
- More of the shooter’s body on the ground equals a more stable position.
Of course, that last bullet has a drawback: If more of your body is on the ground and stable, then you’re also less mobile.
But aside from being more stable, what about other benefits?
A better natural point of aim means increased ability to
The other benefit is the reduced energy expenditure. Since you’re not using muscles to hold a position, you are more comfortable. That translates to holding the position for a lot longer.
Testing the NPOA
If you have the time, which you usually will unless your life is on the line, you should always check your natural point of aim as you assume your position.
So how do you check that? I’m glad you asked.
The best test is to get your sights on target and relax. Remove as much tension from your muscles as you can. Close your eyes and give your body a little shimmy.
Not a huge shake, mind you, just enough of a shimmy to disturb your sight picture.
With your eyes still closed, settle back into a relaxed state. Open your eyes.
Are your sights still on target? If they are, then you’ve found the NPOA. If not, then you need to adjust your position and try again.
During practice, do not fire until you obtain a solid natural point of aim. I’ve long struggled with my impatience and the desire to just shoot already. Of course, I also get more frustrated as my groupings grow wider.
Do the work, and it will pay off.
So how do you actually adjust your position?
Adjusting Positions for NPOA

Take a look at the shot process depicted in TC 3-22.9.
Notice the “Pre-Shot” category. Before you master the natural point of aim, you need to practice your rifle positions. I’m going to go through the main ones and offer some tips for each.
You can cheat your way through this a bit. If the target is large or very close, then your accuracy demand is probably a lot less. That’s where most people go wrong these days. If you only ever shoot in a way that doesn’t require a higher standard of accuracy, then you’ll never work to develop it.
Take the time to practice these. If you really w
The Prone Position
The prone provides the most stability because it involves the least amount of muscles. With most of the body resting on the ground, you’re basically a big fleshy sandbag.

The best example of NPOA I’ve seen came from an Appleseed instructor in Santa Barbara, CA in 2014. He took an empty 10/22 stock and attached a laser pointer to the end.
He set up his position and the show began. The class watched intently as the dot moved up and down the paper with the instructor’s breath. Upon each exhale, it returned to the exact same point every time.
He closed his eyes and did the shimmy, and the dot returned right back.
He even had another instructor blindfold him and rough him up a bit. The dot stayed.
You get the idea.
Before he got his position that stable, he had to walk the dot in. He did that by picking an anchor point for the position that would not move. The rest of the position moved around the anchor.
For the prone, your anchor is the supporting side elbow. Once that elbow is down, you keep it down.
If you need to raise your point of aim, then shimmy your hips away from your anchor.
Need to lower the point of aim? Move the hips closer to the anchor.
If you need to move the NPOA to the left or right, then you shimmy those hips left or right.
The Sitting Position
The sitting position is the second most stable. With practice, I’ve gotten it to work just about as well as prone for me. For simplicity sake, I’m only going to focus on the three main variations of the sitting: open


All of three of these work about the same way. Imagine a beam of light shooting down your spine, out your backside, and into the dirt. That’s your anchor point.
To move your natural point of aim to the left or right, you spin on that anchor point. Yes, it will be slow to adjust.
If you need to adjust the elevation, then move your feet closer or further away. If you need very large changes to elevation, you’ll probably find that you switch to different variations of sitting all together.
For example, very high targets might call for open leg sitting, while very low targets might call for crossed leg. That’s for me, of course. Your body mechanics may vary.
Keep in mind that the open leg position is difficult here because there’s not a lot keeping your legs upright when you relax. If you have unusually tight or flexible hips, it might work out, but I usually end up relying on the crotch of my pants to provide that tension.
The Kneeling Position
The NPOA for the kneeling position works similar to that of the sitting.
Again, I’m sticking to the traditional kneeling positions here.

Imagine that beam of light shooting down your spine and out your backside. This time, though, it’s also passing through your foot and pinning it to the dirt. This is your anchor.
Like with sitting, horizontal changes are made by pivoting around the anchor. Elevation changes are made by either moving the supporting foot or with a forward lean over the supporting knee.
Just remember that you want to feel as relaxed as possible, not cramped.
The Squatting Position

The squatting position bucks the trend. To change the horizontal natural point of aim, pivot around the front foot. To change the elevation, narrow or widen the stance with the rear foot.
You can also adjust the location of your elbows.
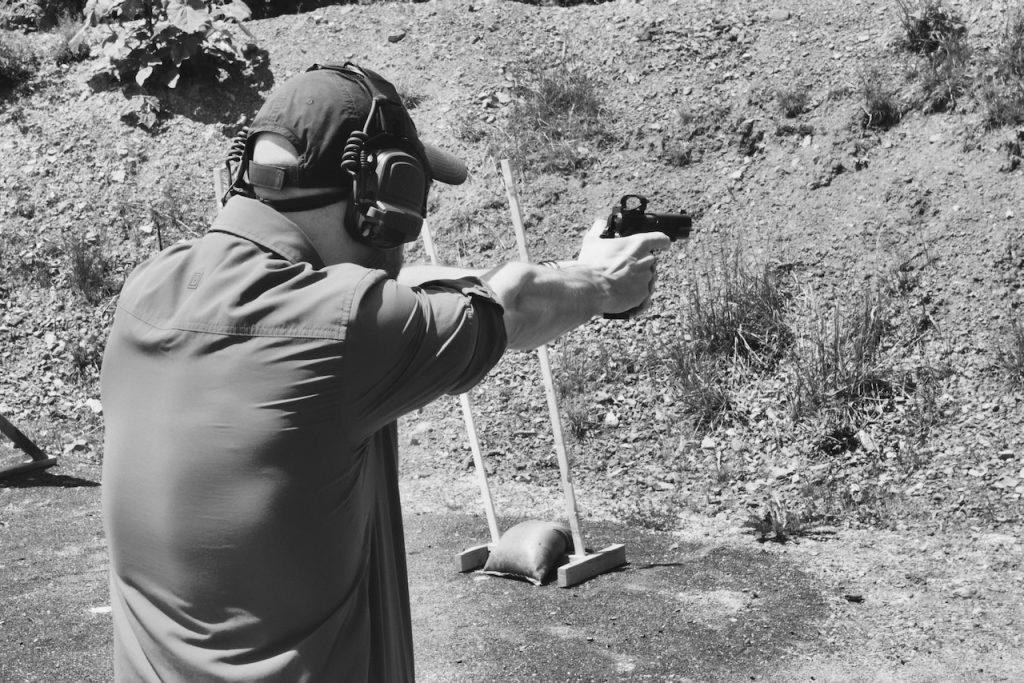
The Standing Position
The standing position calls for a different tact.
I’ve talked about three variations on the standing: tactical, erect, and target.
Both the tactical and erect positions are nearly all muscle-based, and it’s basically impossible to achieve a solid NPOA with them. That works ok since those variations are best used with

The target standing, however, is where you have the most control.
Your front foot is your anchor point. Most of your adjustment comes from moving your rear foot.
Move your feet closer together for a lower NPOA, further apart for higher. Pivot around the front foot for horizontal changes.
You can also make some small elevation adjustments by changing where you’re supporting the rifle with the supporting hand. Move it further out to lower your point of aim, closer to raise it. Your body plays a huge role in this, though. I have a long torso and need to keep my support hand under the magazine well just to keep the rifle level.
Wrapping Up
Finding and enforcing your natural point of aim is easy to ignore. It’s
With consistent practice, you’ll find that you develop a natural instinct for it. You’ll drop into a position already aligned with that NPOA, which makes you just that much more accurate. I can’t think of any high-speed training course where I actively thought about my NPOA during the drill.
But it’s there when it counts.
So, over to you, how often do you practice your natural point of aim? Is it part of your dry fire routine? Do you have a different way of adjusting it?


you said you move you elevation by shimmying your hips. As a competitive shooter for 6 years in the USMC this isnt the most effective way to get elevation. After you attain NPOA to raise or lower your elevation you push or pull with your toes.
Thanks Patrick! This article is definitely due for an update. I’ll experiment with the toes on the next trip, though I would imagine that toes are a good measure for fine-tuning the elevation. What if you have to move up or down a lot due to upward or downward angle shooting?
Who is the creator of the NPOA concept or where is the oldest citation about it?